
 Control It has the capability to keep track of the temperatures for your rectification tanks. To configure a rectifier’s temperature settings, first click the Settings button for the rectifier, then navigate to the Temperature tab. The check box at the top can be turned off to completely disable the temperature monitor feature. With temperature monitoring enabled, you will be able to configure the driver for the temperature monitoring for any rectifier or PLC that does not support temperature monitoring directly.
Below the driver settings are the temperature calibration settings. The gain setting will multiply the raw temperature by the gain amount, and the offset will add a fixed amount to the raw temperature to arrive at the adjusted temperature. Lastly, the Chart Temperature Scale settings govern that min and max values displayed on the rectifier chart’s temperature axis.
Control It supports many different kinds of temperature sensors, and each one is configured in a different way. To configure your driver, click Configure. Here is a list of all the temperature devises we support. Click on the link to go to the section detailing how to install the respective device on a rectifier.
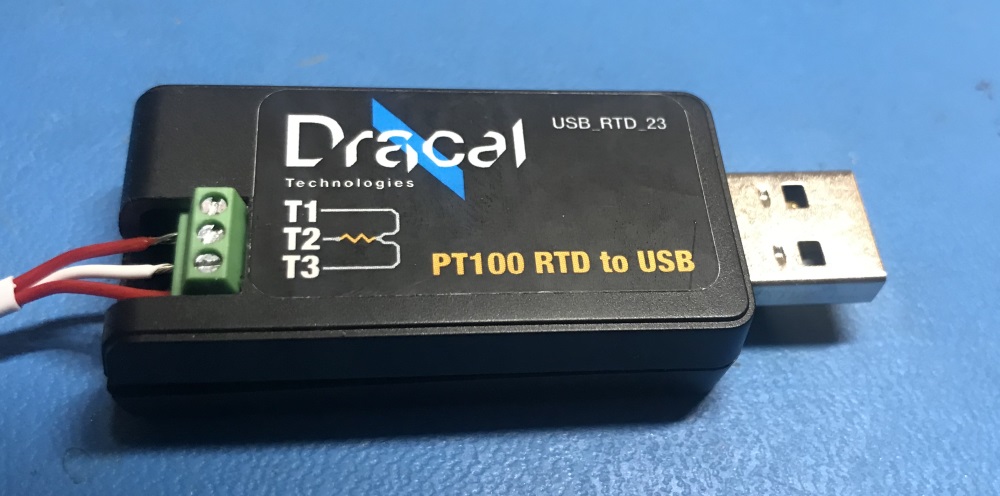
 To configure the Dracal driver, select it from the drop down box, then click Configure. A window will appear prompting you to enter the serial number on the back of the Dracal device. After entering it, click Connect. If the hardware is set up right, and the serial number is correct, Control It will take care of the rest. After the process finishes, click OK to close the window.
 To configure the Opto22 temperature driver, select it from the drop down box, then click Configure. A window will appear prompting you to enter the IP address of the Opto22 device. This can be found on the inside of the PLC’s case. After entering the IP address, click Connect. If the hardware is connected properly, the IP address is correct, and the computer is on the same network, the temperature devices will appear in the grid. Select the device you wish to use for this rectifier, and click OK. This will let you select whether to use Celsius and Fahrenheit. Once you are finished, click OK.